ECG Digitization Tool User Guide
Web Demo Instructions
Demo URL: http://ai.heartvoice.com.cn/digital/
Page Overview
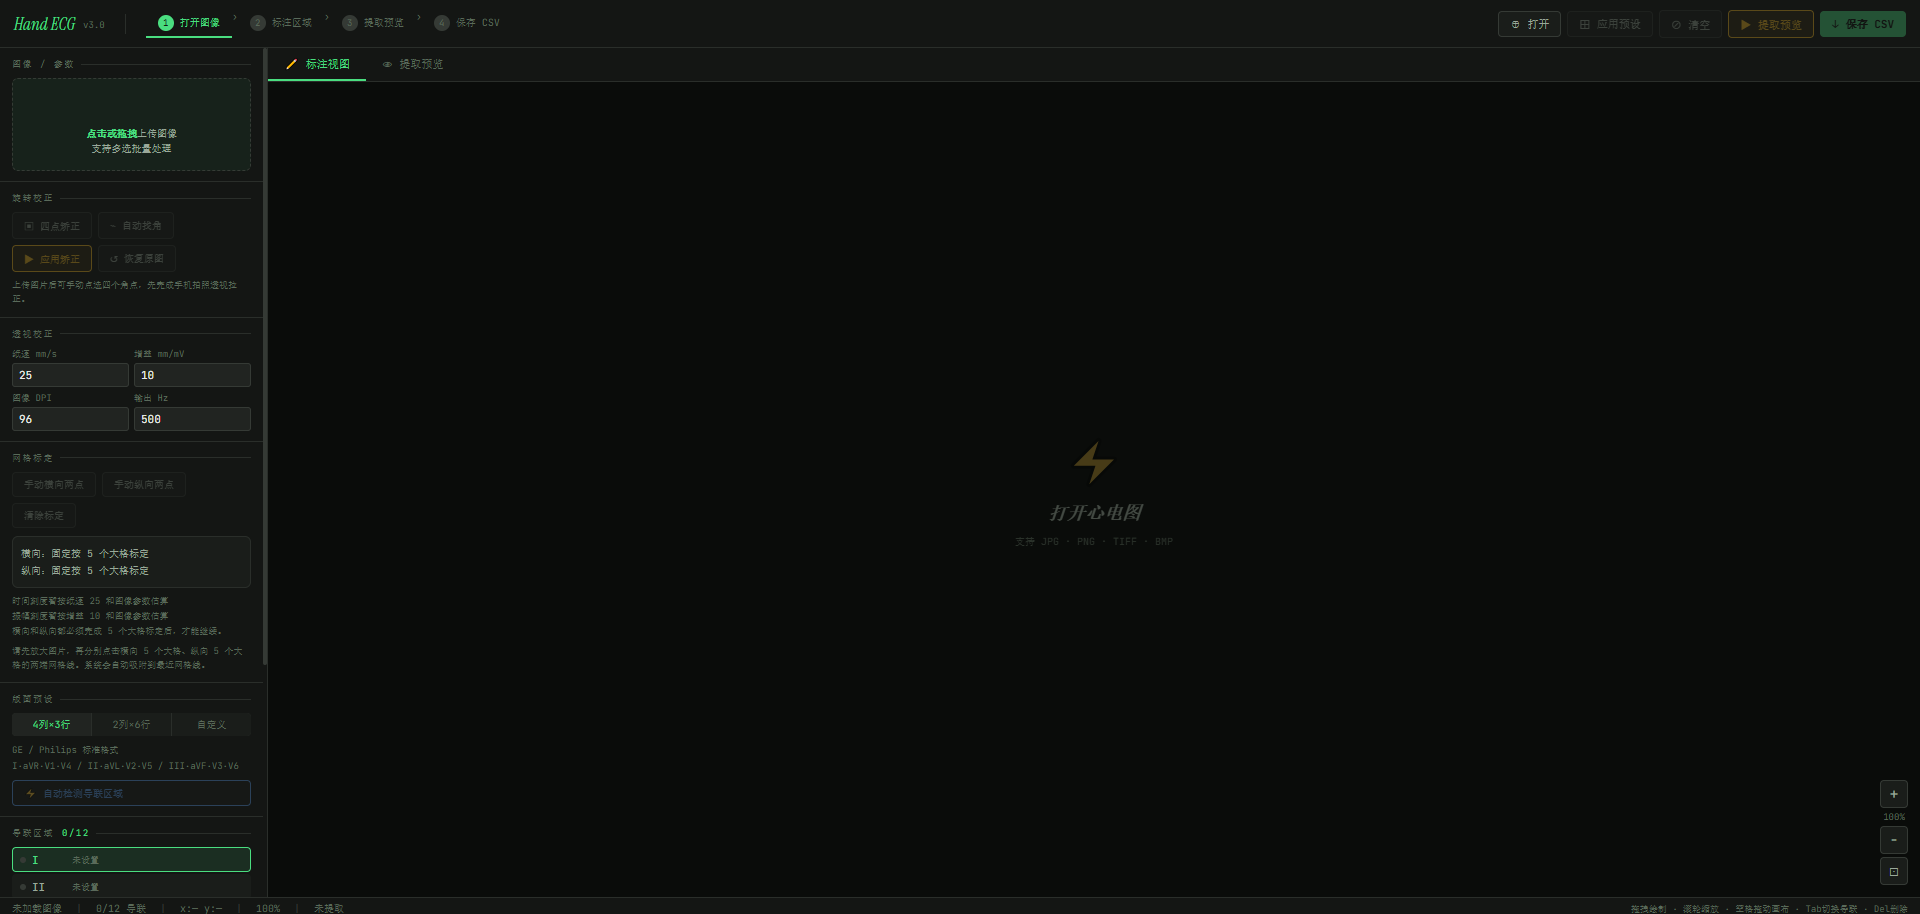
Steps
1. Select a sample image
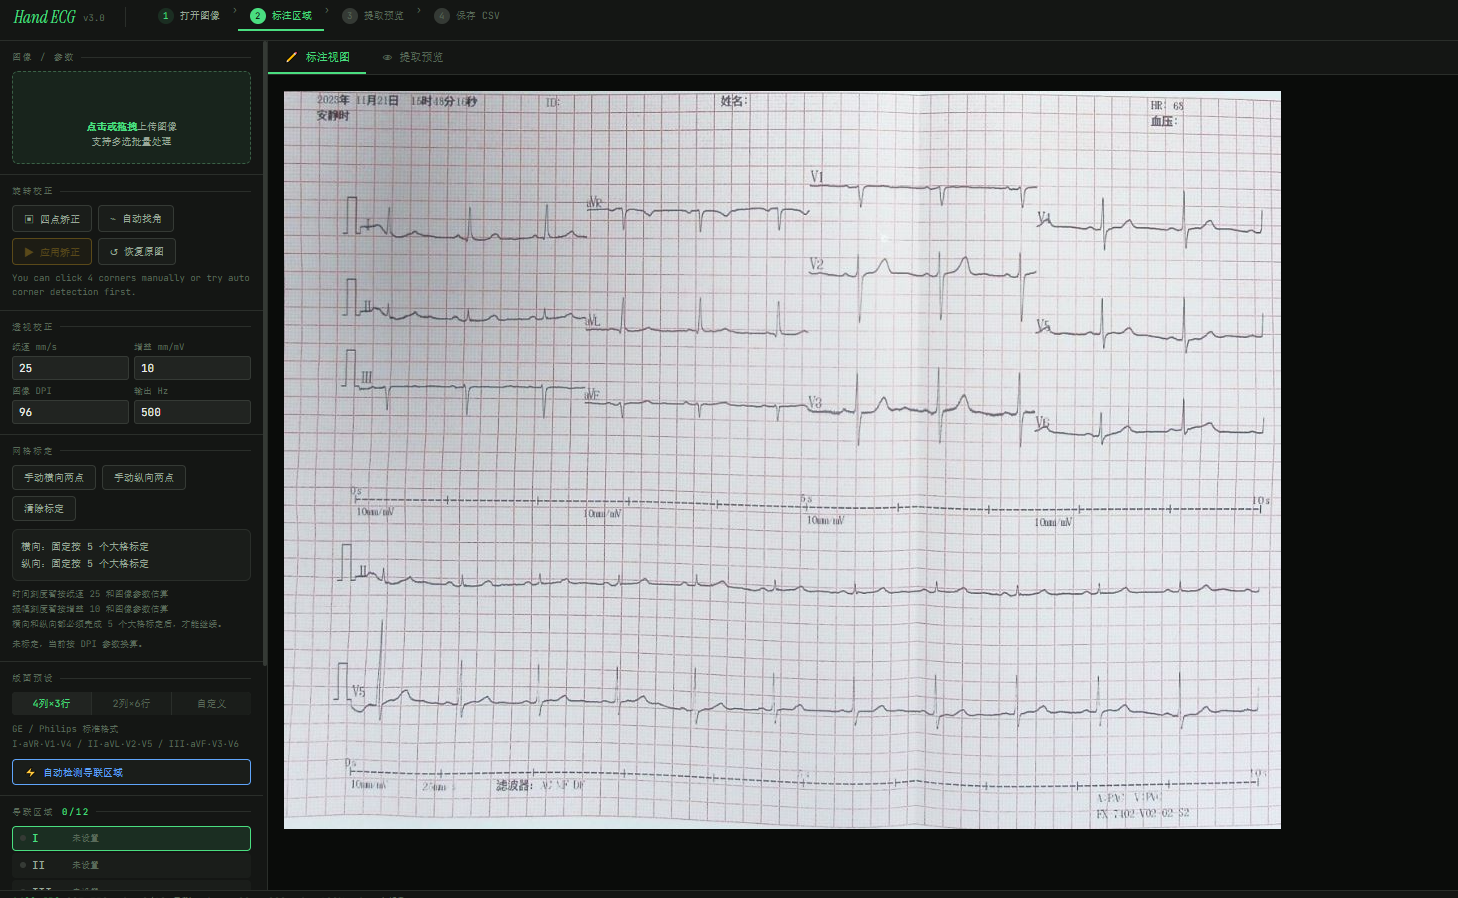
2. In the correction section, click Auto Detect Baseline
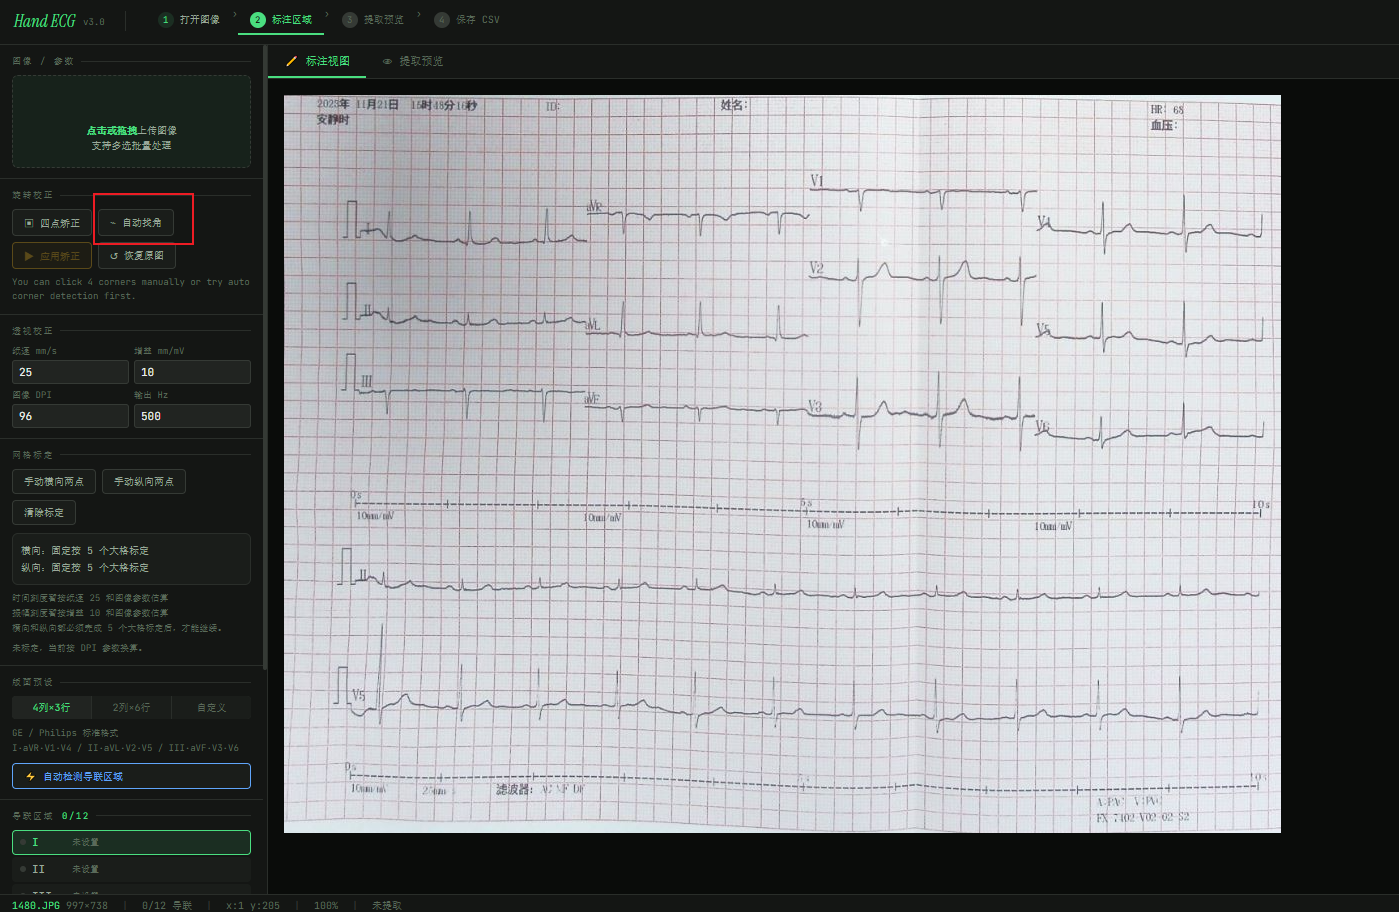
3. After clicking Auto Detect Baseline, manually adjust the digitization area on the ECG image on the right. After finishing manual adjustment, click Apply Correction
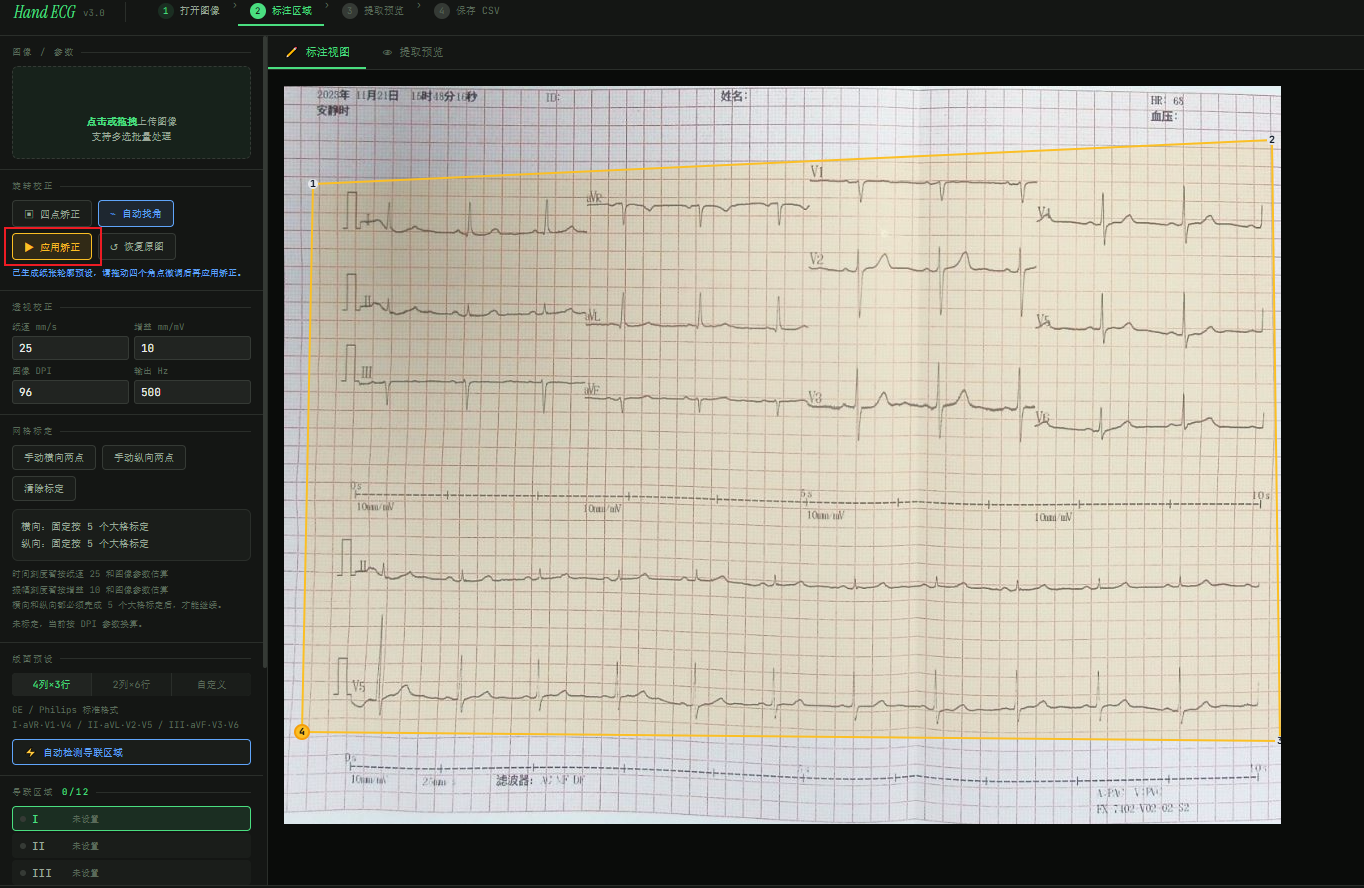
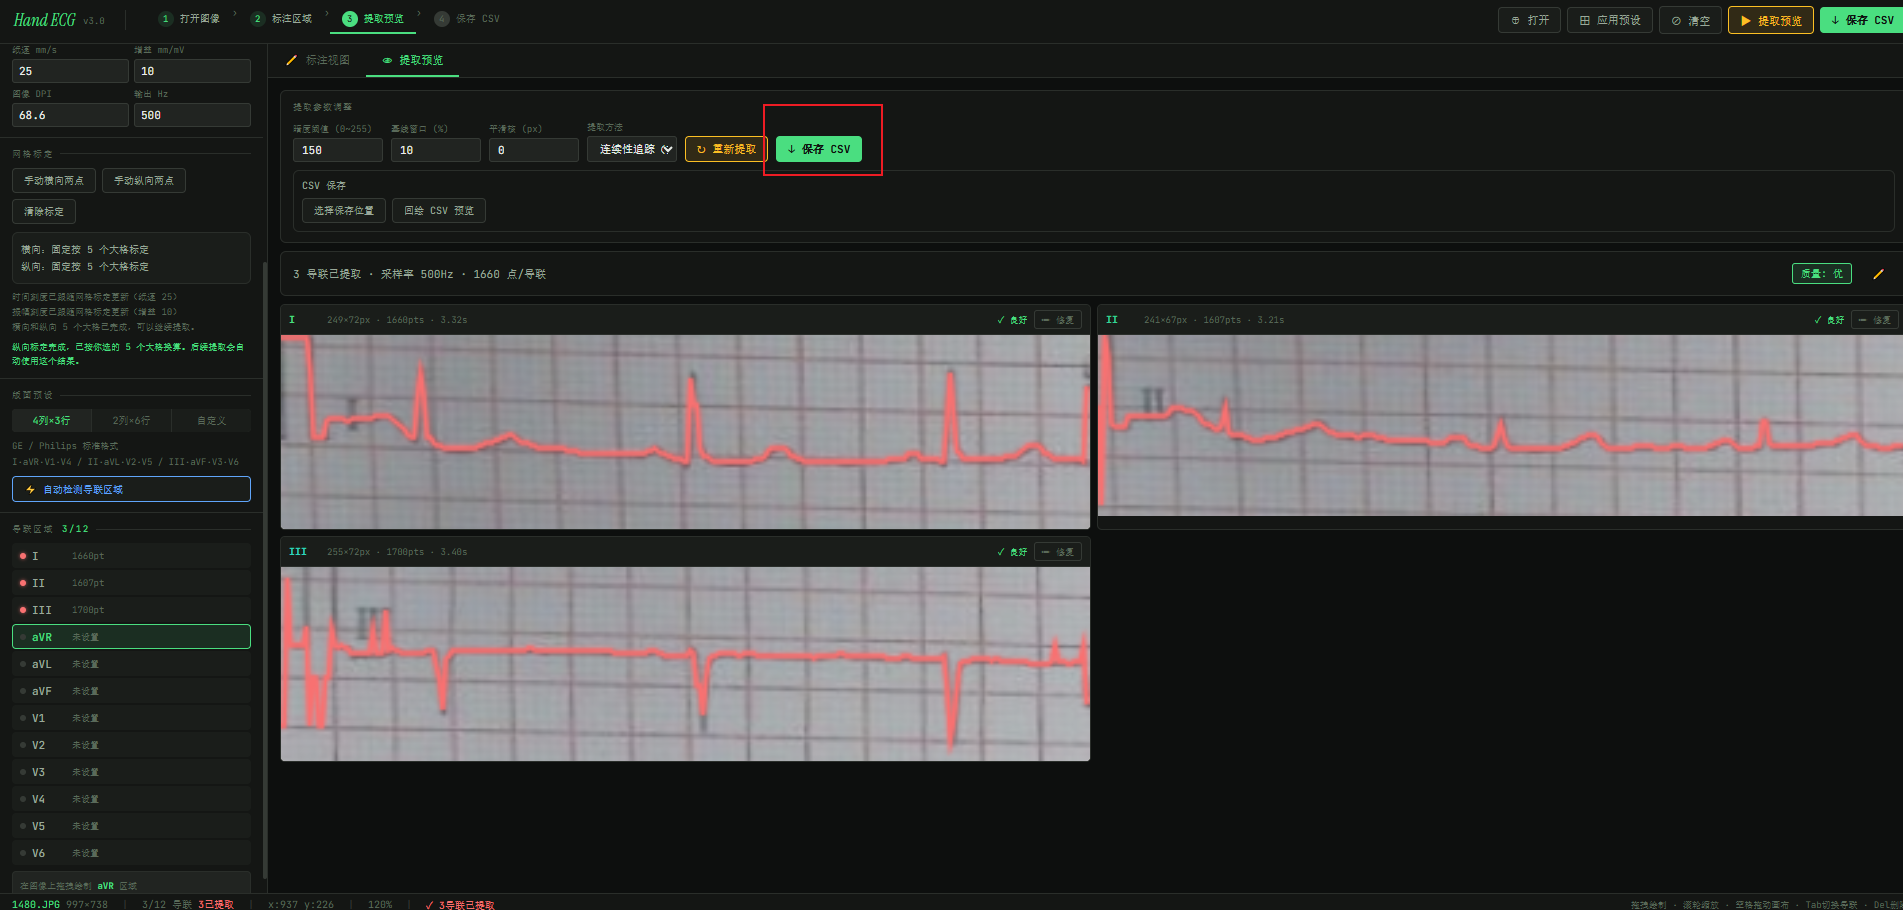
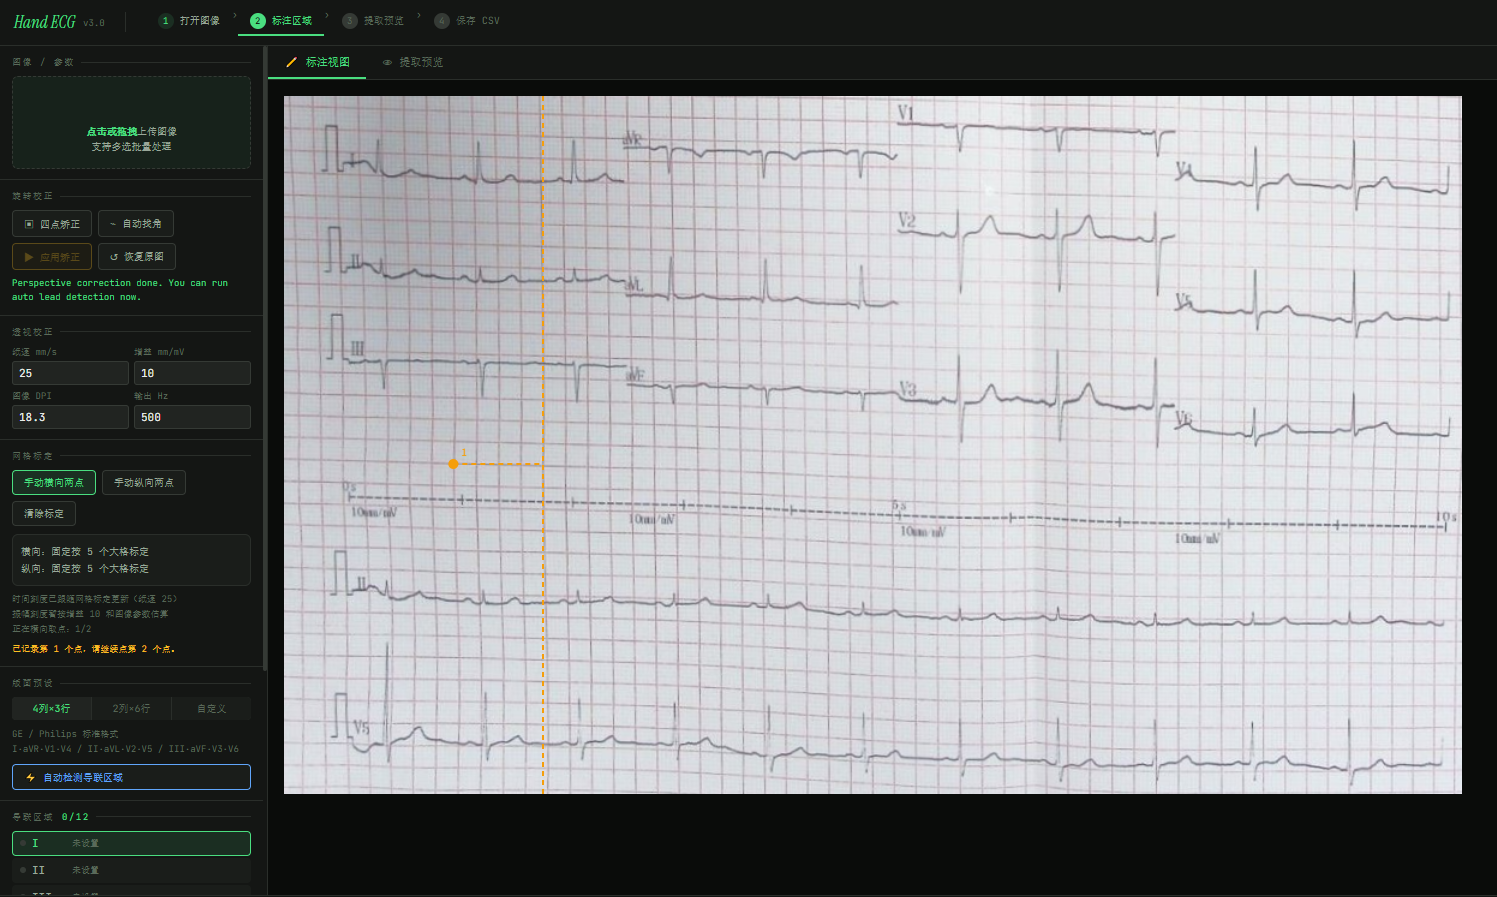
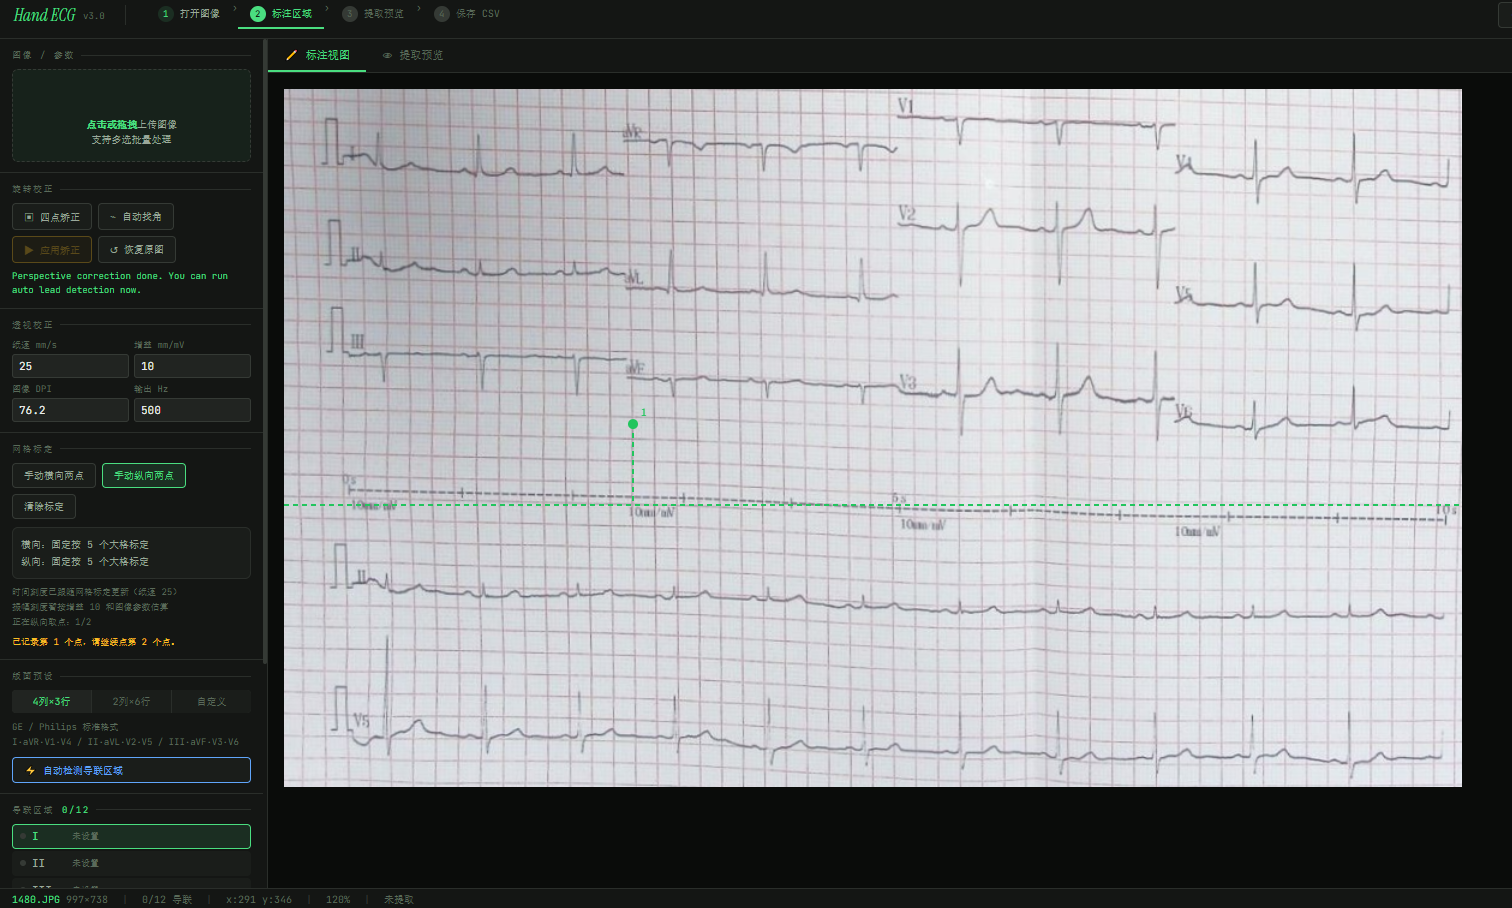
4. After clicking Apply Correction, in the Grid Calibration section below, first click Manual Horizontal Two-Point and manually select two points spanning five horizontal grid cells. Double-click the last point to confirm. Then click Manual Vertical Two-Point and manually select two points spanning five vertical grid cells. Double-click the last point to confirm
5. Below Grid Calibration there is Layout Calibration. Choose the corresponding ECG layout according to the uploaded ECG image
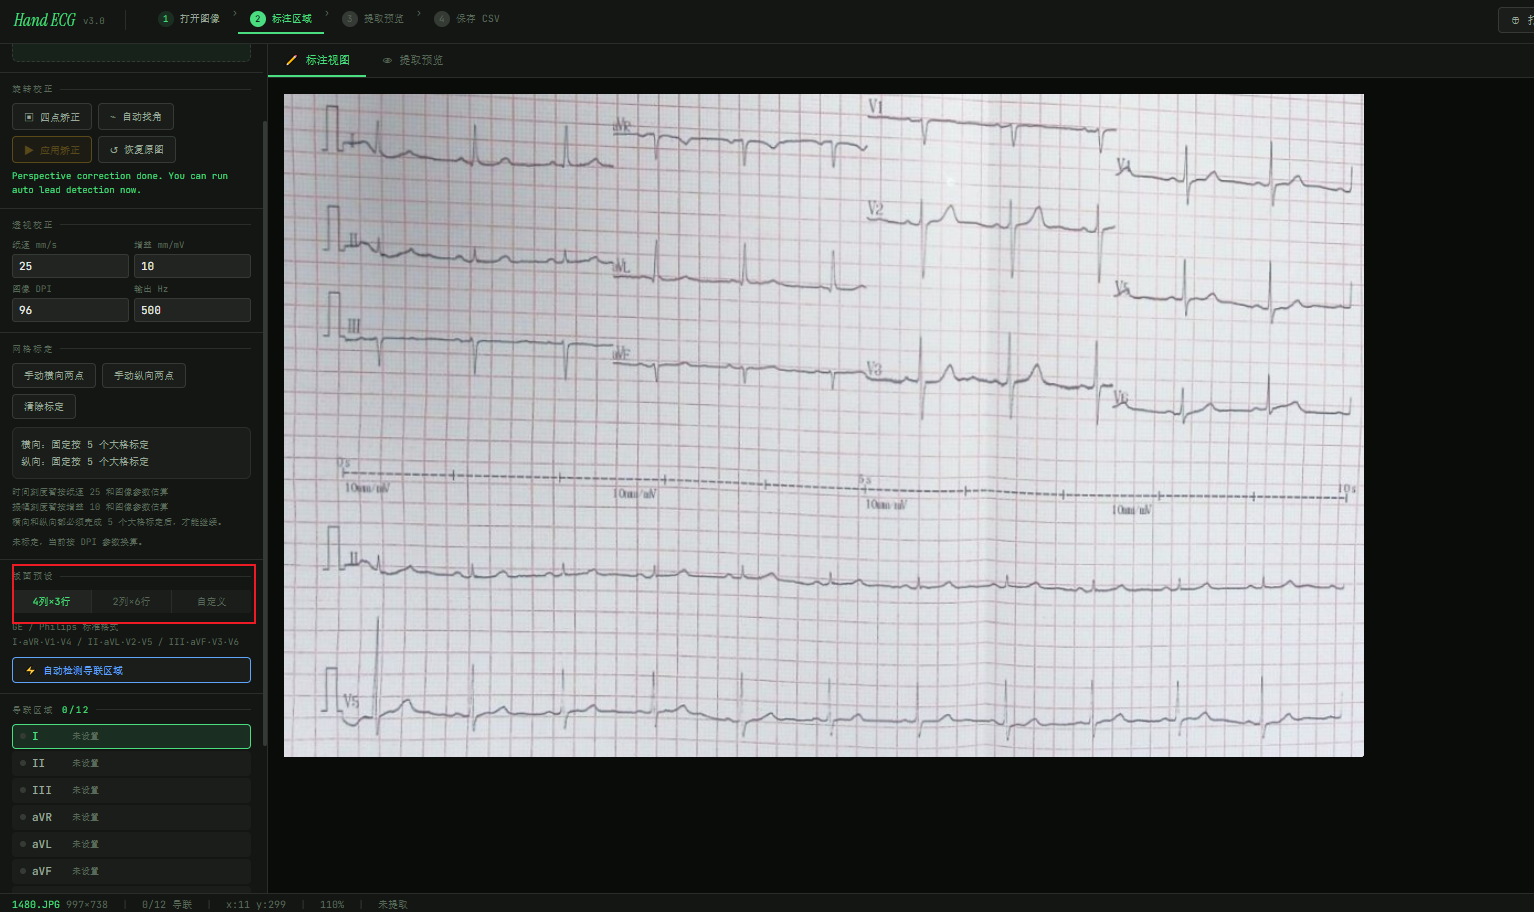
6. Then use the mouse to select the regions for different leads. If a region is selected incorrectly, click the corresponding lead, delete it, and reselect the region
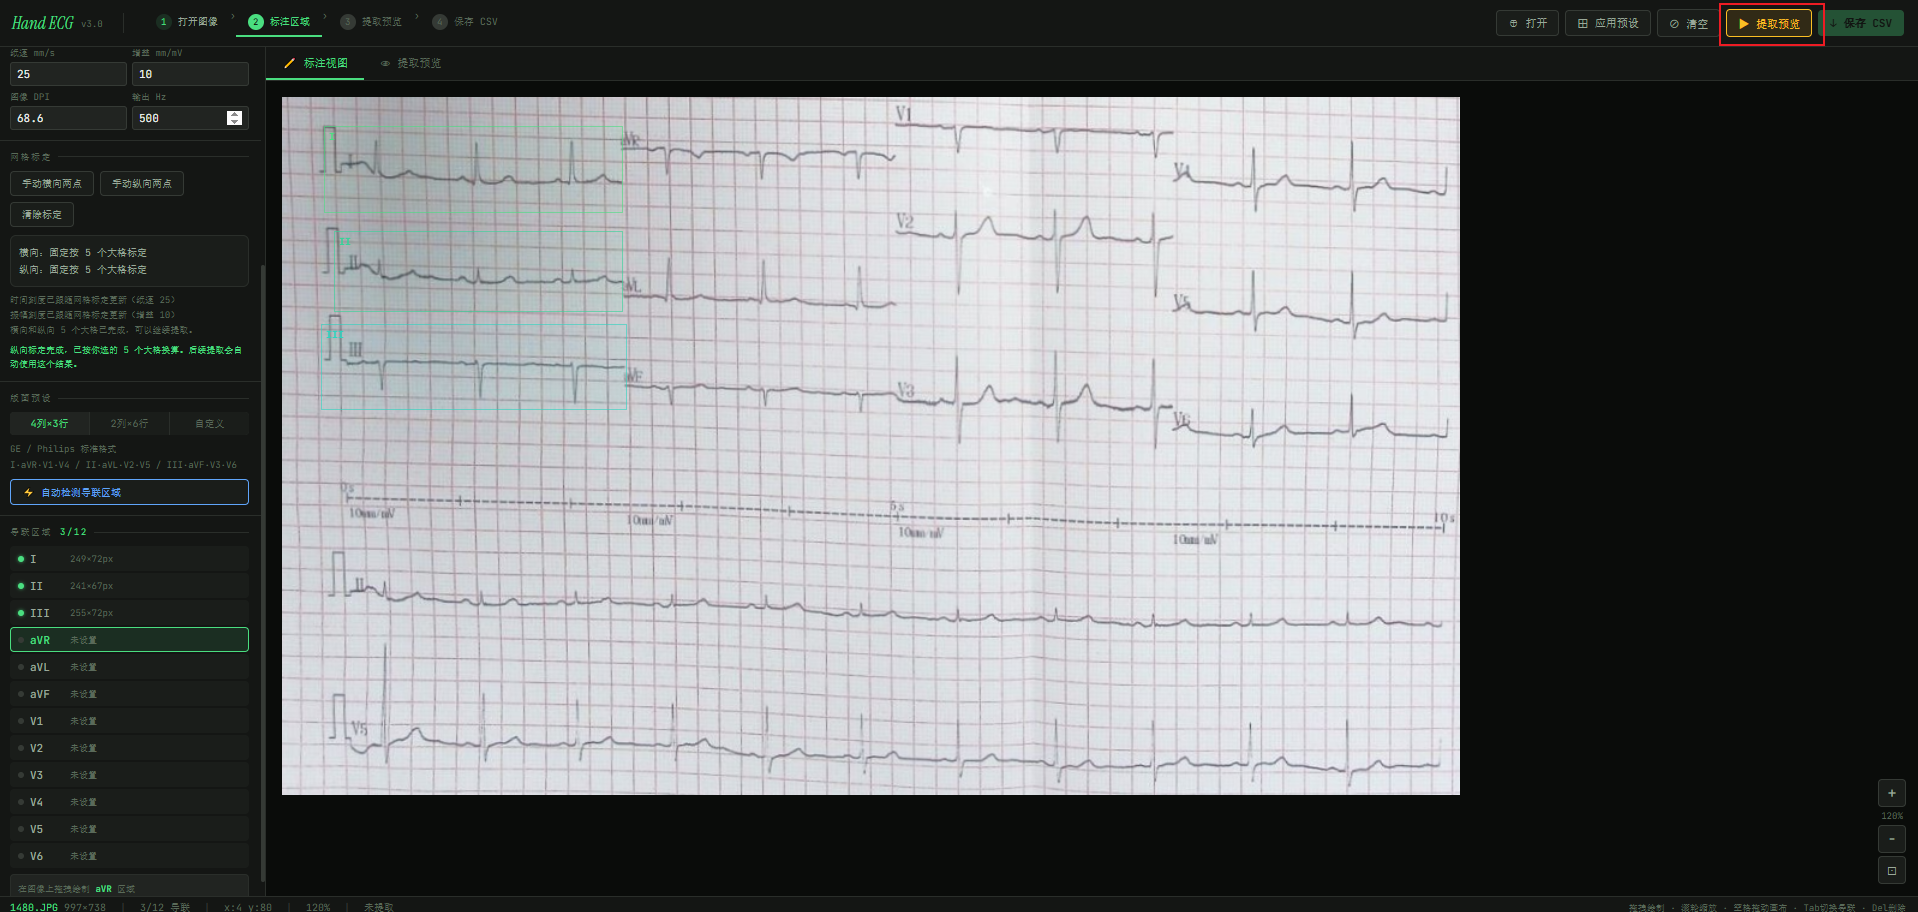
7. After selecting all lead regions, click Extraction Preview in the top-right corner. On that page, select a lead, then click the Repair button at the top-right of that lead to perform precise calibration. After repairing, close the popup window and continue with the next lead
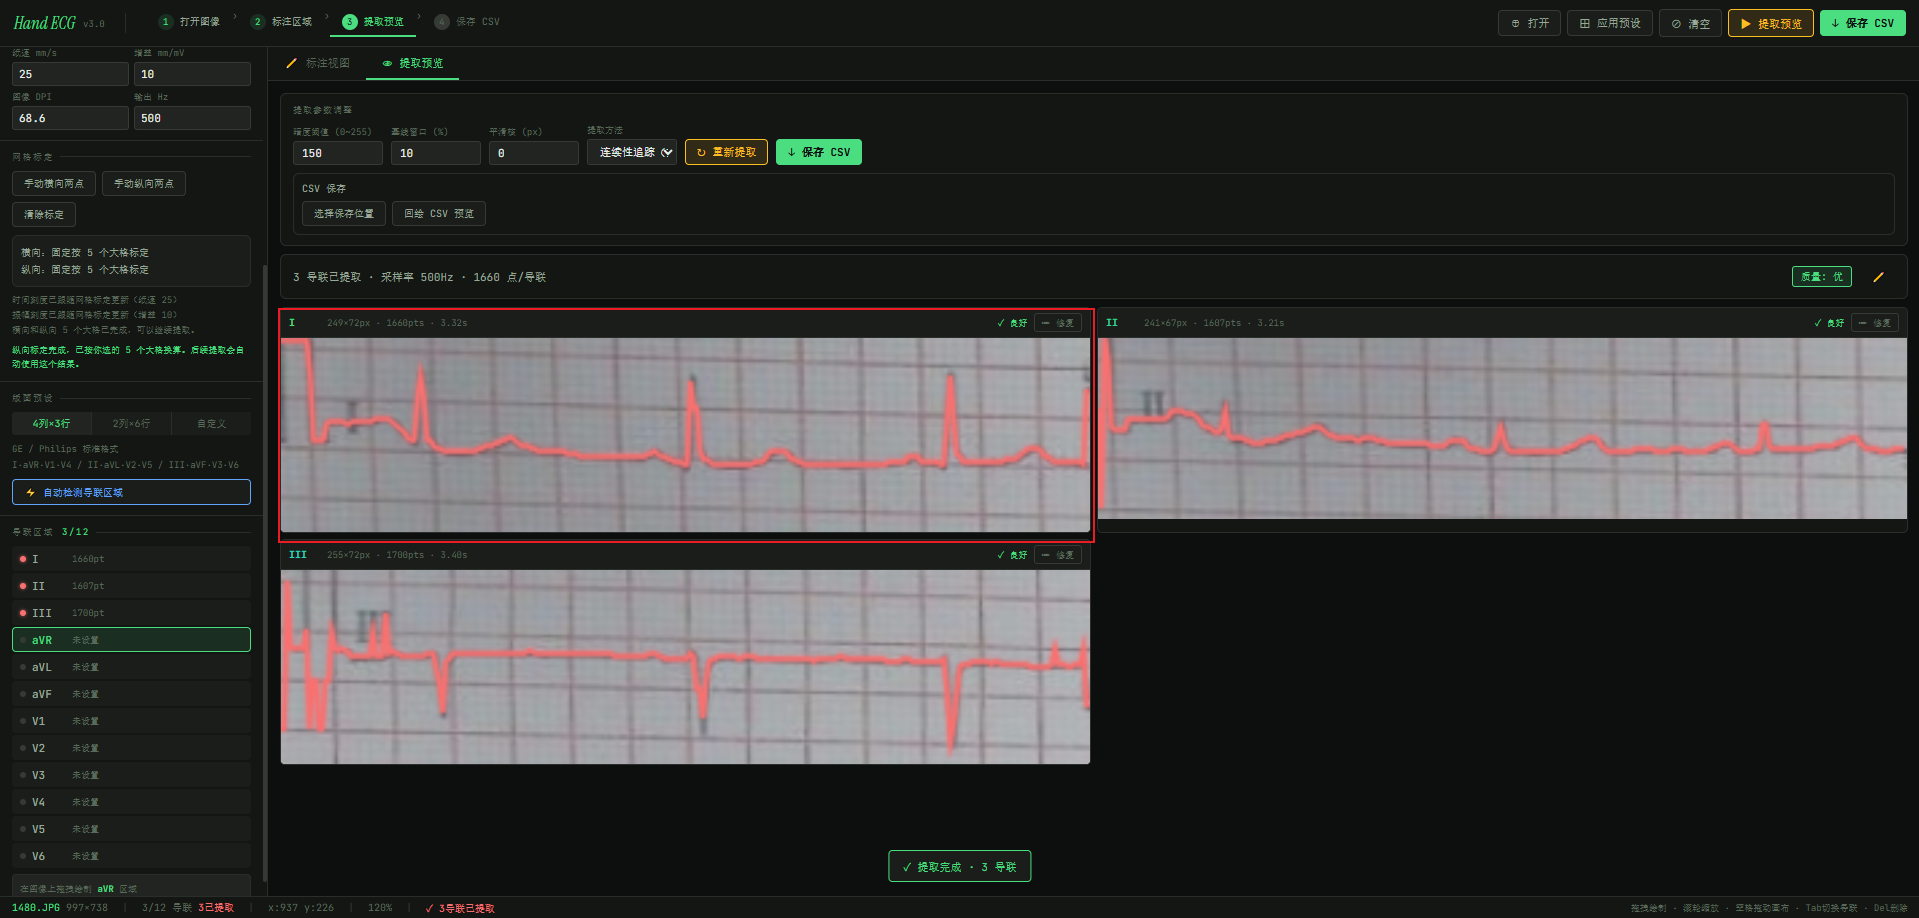
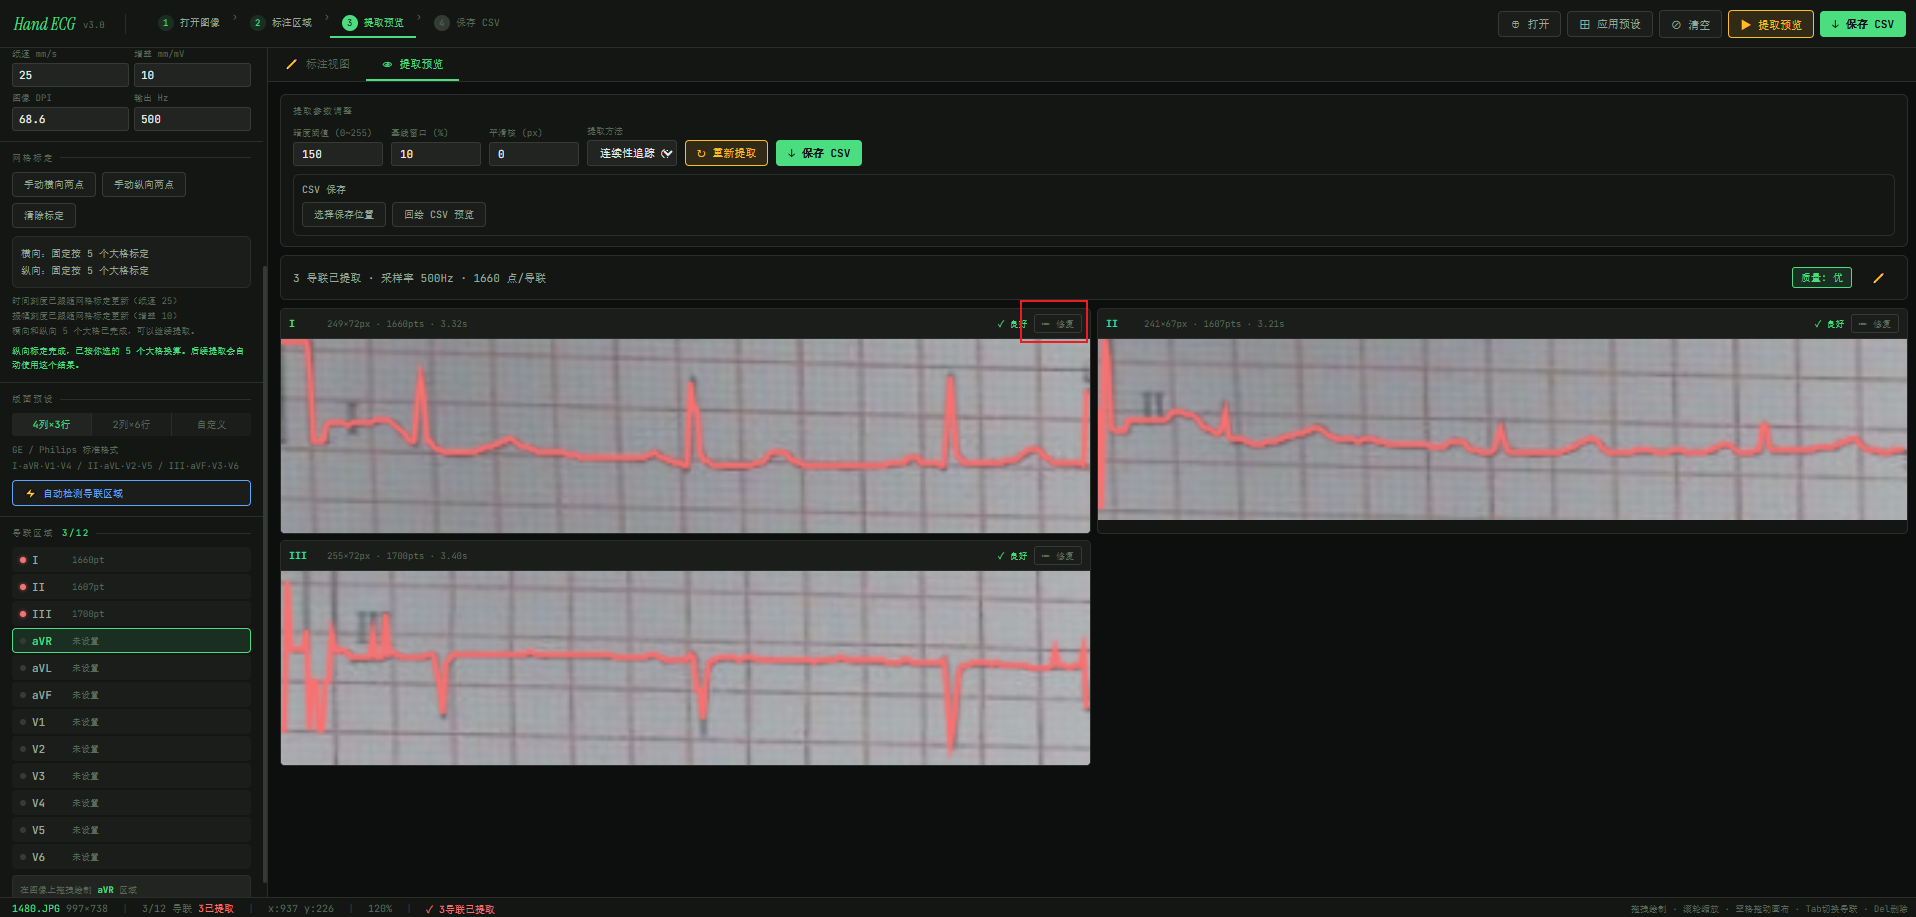
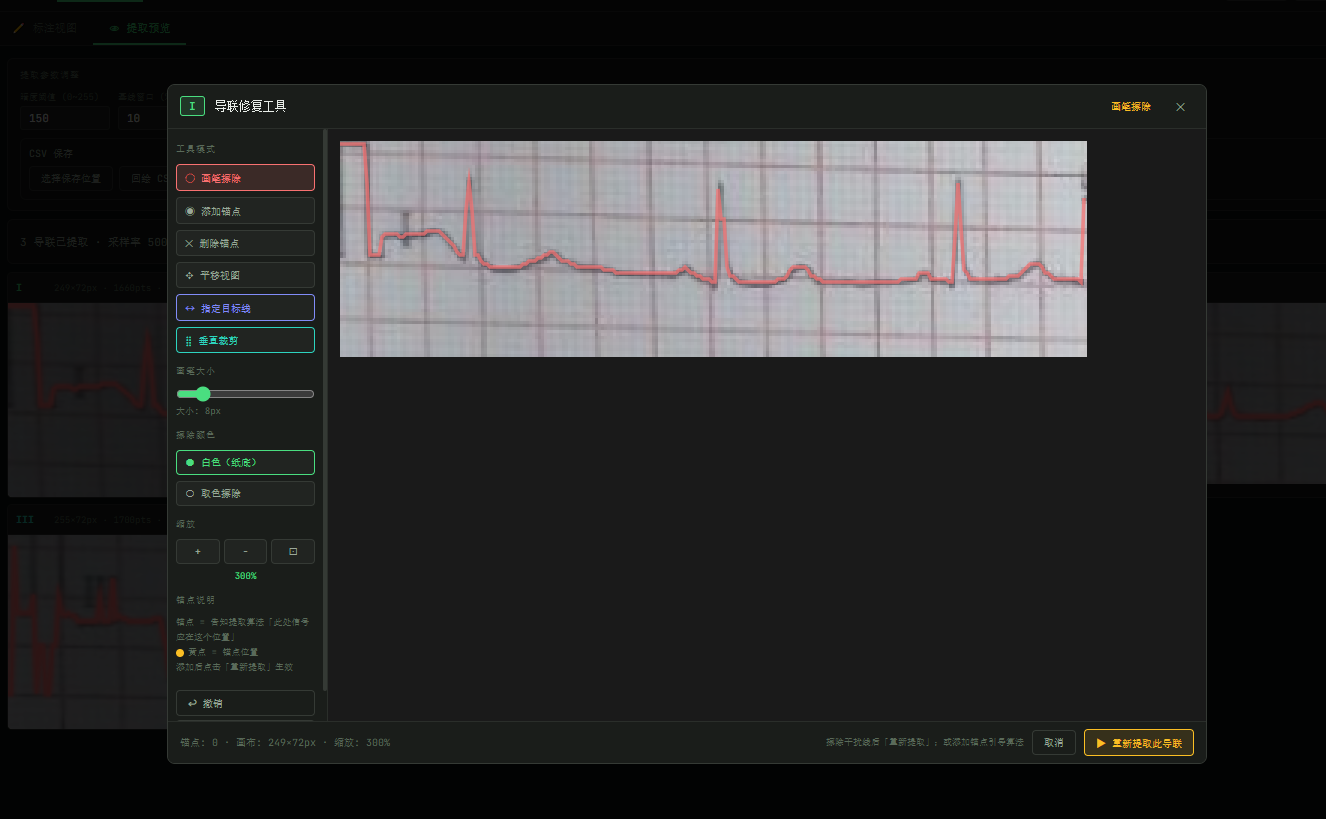
8. After all leads are fully repaired, click Save CSV. All lead data will be saved into a CSV file, which can be found in your browser's default download location